
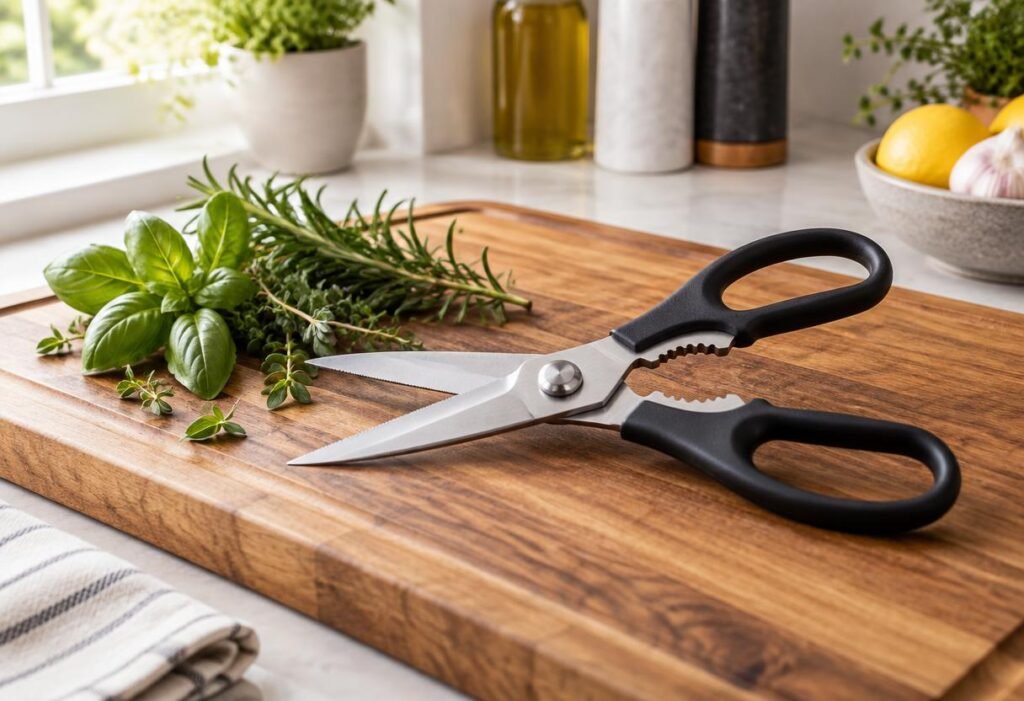
Kitchen shears cut herbs, trim chicken, snip pizza and open stubborn packaging, often all in one evening. No wonder they go dull. When yours start folding herbs instead of cutting them, you don’t need a new pair. Learning how to sharpen kitchen shears takes a few minutes, and you probably already own everything required.
Table of Contents
- Signs Your Shears Need Sharpening
- Before You Start: Clean and Separate the Blades
- How to Sharpen Kitchen Shears: 3 Methods
- What About Serrated Blades?
- How to Test the Edge
- Shear Sharpening FAQs
- Which Method Should You Use?
Signs Your Shears Need Sharpening
- Herbs get crushed or bruised instead of cleanly snipped.
- Paper folds into the blades rather than cutting.
- You need to squeeze hard to get through chicken skin or cardboard.
- The blades catch or grind partway through a cut.
If the blades feel loose or wobbly, tighten the pivot screw first. Sometimes that alone restores the cut.
Before You Start: Clean and Separate the Blades
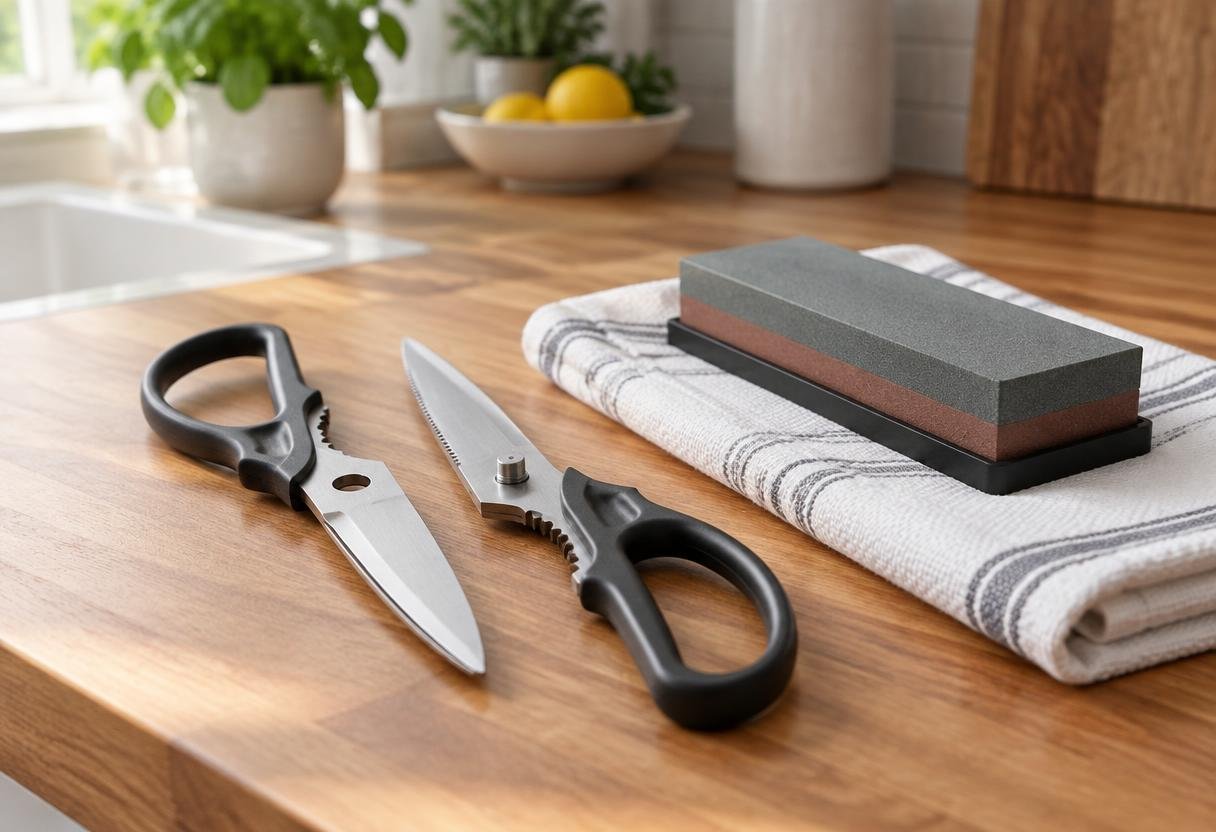
The first step in how to sharpen kitchen shears is cleaning them. Wash and dry the shears so grease and food residue don’t clog your sharpening surface. Many kitchen shears come apart at the pivot: open them fully and lift one blade off the other. Separated blades are easier and safer to sharpen, because you can reach the whole edge.
Look closely at each blade. The cutting edge has a slanted face, called the bevel, and a flat inner face that presses against the other blade. You sharpen the bevel. You only touch the flat side lightly at the end to clear burrs.
How to Sharpen Kitchen Shears: 3 Methods
Here is how to sharpen kitchen shears with three different tools, from quickest to most thorough.
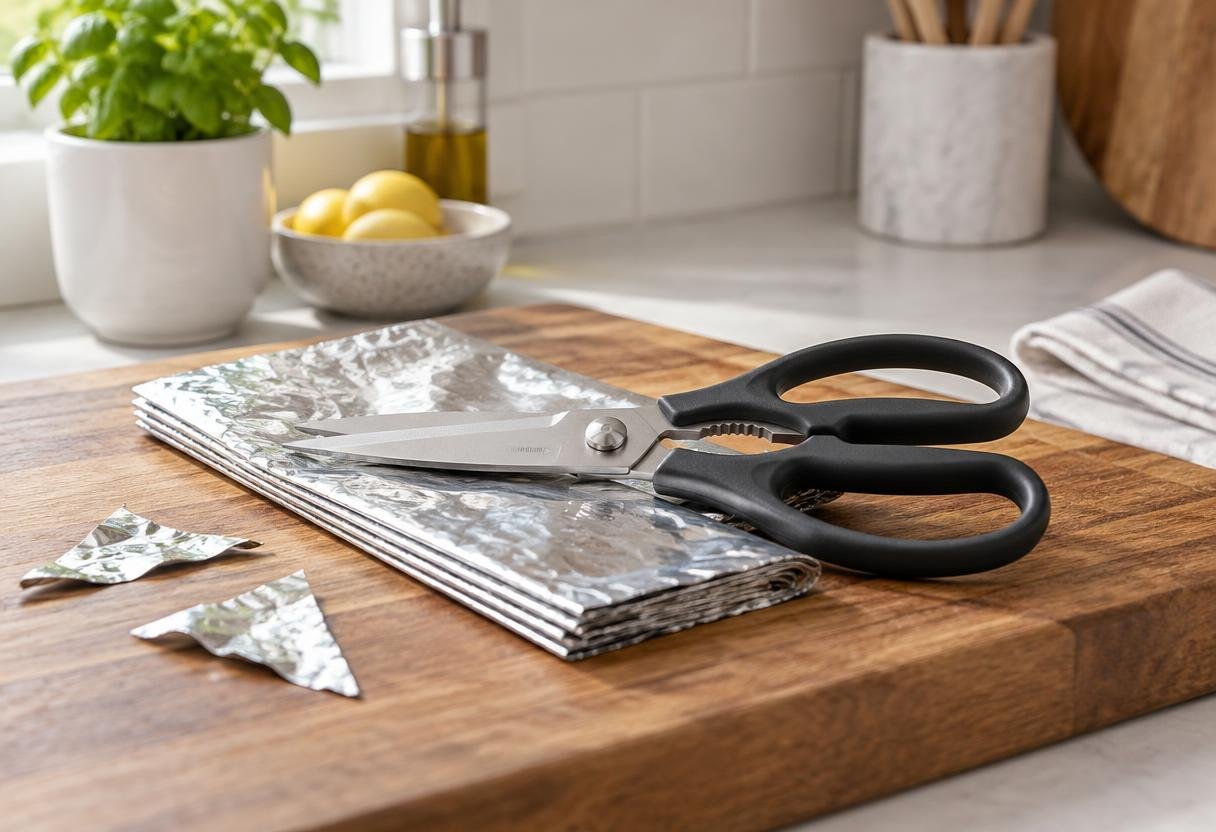
Method 1: Aluminum Foil (Quick Touch-Up)
Fold a long strip of foil over itself six or more times, then make 10 to 15 full-length cuts through it. This hones the edge and removes small burrs. As Food Republic explains, it’s a short-term fix for mildly dull shears rather than a true sharpening.
Method 2: Sandpaper (Medium Dullness)
Fold a sheet of fine sandpaper, around 150 to 200 grit, with the rough side facing out. Make 10 to 20 full-length cuts, using the whole blade from pivot to tip. Wipe the blades with a damp paper towel afterward to remove grit.
Method 3: Whetstone (Properly Dull Shears)
This is the best answer to how to sharpen kitchen shears that are truly blunt. Soak the stone if it’s a water stone, then set it coarse side up on a damp towel so it can’t slip.
- Hold one blade with the bevel flat against the stone, matching its original angle.
- Push the blade across the stone from the pivot end toward the tip, as if slicing a thin layer off the surface. Repeat 10 to 15 times.
- Switch to the fine side of the stone and repeat.
- Lay the flat inner face on the fine side and give it one or two light passes to remove the burr.
- Repeat on the second blade, then reassemble.
Not sure which method to use? Here’s how they compare:
| Method | What You Need | Best For | Effort |
|---|---|---|---|
| Aluminum foil | A sheet of foil, folded several times | A quick touch-up on slightly dull shears | Very low |
| Sandpaper | Fine-grit sandpaper | Shears that are noticeably dull | Low |
| Whetstone | A whetstone and water or oil | Properly dull shears, best long-term edge | Moderate |
What About Serrated Blades?
Serrated edges change how to sharpen kitchen shears. Many kitchen shears have one smooth blade and one micro-serrated blade that grips slippery food. Sharpen only the smooth blade on a stone or sandpaper. The serrations are designed to stay rough and are hard to restore at home; if they wear out, the foil method plus a professional sharpener or a new pair is the practical choice.
How to Test the Edge
Cut a sheet of printer paper from the pivot all the way to the tip. A sharp pair glides through without tearing or folding the paper. Then snip a sprig of parsley; it should cut clean with no bruising. Once you know how to sharpen kitchen shears, a quick foil touch-up every month keeps them this way.
Shears with loose rivets, chipped blades or rusted pivots aren’t worth the effort. See our picks for the best kitchen shears under $20 for take-apart models that are easy to sharpen. For herbs specifically, multi-blade herb scissors are a handy extra.
Shear Sharpening FAQs
How often should I sharpen kitchen shears?
A full sharpening once or twice a year is plenty for most home kitchens, with a quick foil touch-up whenever cuts start to feel rough.
Can I use a knife sharpener on kitchen shears?
Some pull-through sharpeners include a slot for scissors. A standard knife slot uses the wrong angle and can damage the bevel, so check the sharpener’s instructions.
Does cutting aluminum foil really sharpen scissors?
It hones and smooths the edge, which makes mildly dull shears cut better. It won’t restore badly worn or nicked blades; use a stone for those.
Is it worth sharpening cheap shears?
Yes, if the blades are solid stainless steel and the pivot is tight. A five-minute sharpening is cheaper than a new pair.
Which Method Should You Use?
Now you know how to sharpen kitchen shears three ways: foil for a quick touch-up, sandpaper for moderate dullness, and a whetstone when they’re truly blunt. Clean them first, sharpen the bevel, and test on paper. Knowing how to sharpen kitchen shears keeps a cheap pair cutting like new for years.